Is your iPhone disabled, or are you are trying to learn how to unlock disabled iPhone? In any case, the article understudy might be helpful for you to get a solution.
An iPhone gets disabled for a minute after 6 failed tries to unlock it whereas, after 10 failed tries to unlock your iPhone, the phone gets permanently disabled. If your phone is disabled, connecting to iTunes can be a way to recover it, but do you know how to unlock disabled iPhone?
The article below will share great details regarding Dr.Fone – Screen Unlock or how to unlock a disabled iPhone without iTunes in other ways too. Keep reading if you want to learn more about iPhone disabled.
Fix 1: Use iCloud for Unlocking iPhone without Passcode
iCloud is a cloud storage and cloud computing platform by Apple Inc. It keeps your photos, videos, and other data safe. It gives access to your data from any Apple device with your Apple ID. Let us now discuss how to fix disabled iPhone using iCloud:
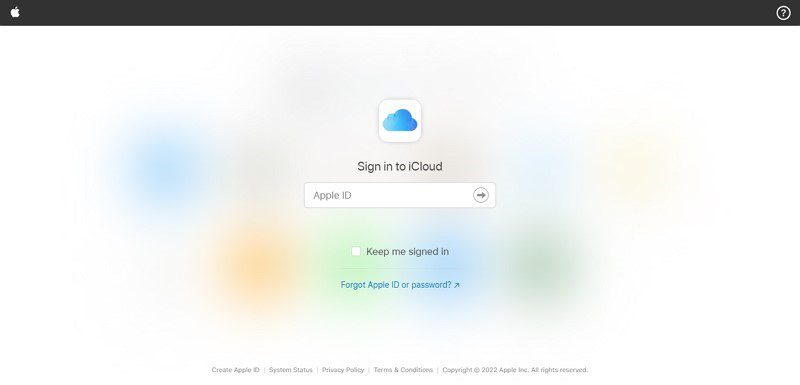
Step 1: For unlocking iPhone without a passcode, start by opening iCloud on your respective device and then sign in by entering the Apple ID that is logged in on the locked iPhone.
Step 2: Once you have done that, select the ‘Find iPhone’ option from the iCloud features. At this point, iCloud will search for your iPhone and display it on the screen. If nothing is displayed, then click on the option at the top, ‘All Devices.’ There, you can select your iPhone and hit the option of ‘Erase iPhone.’
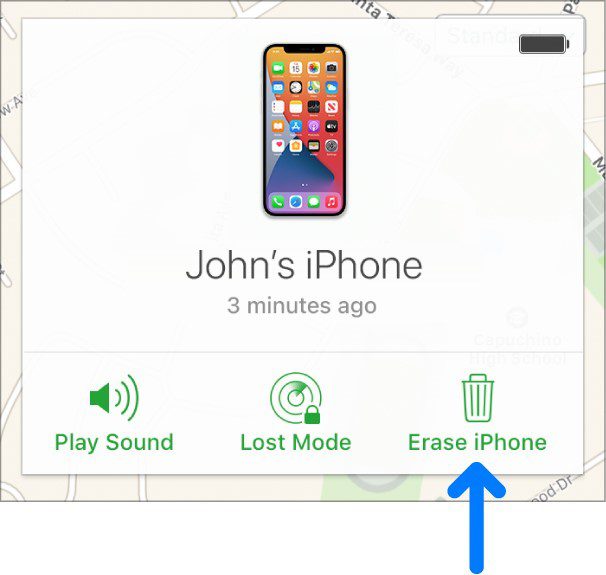
Step 3: Once this is done, your phone will automatically restart, and all the data, including the old passcode, will be erased. You can easily unlock your iPhone now.
Fix 2: Recovery Mode: Unlocking Your iPhone without Passcode
Recovery Mode is a troubleshooting feature that connects your phone to a computer. It then diagnoses the problem and helps you to resolve it. The steps to recover iPhone through iTunes Recovery Mode are as follows.
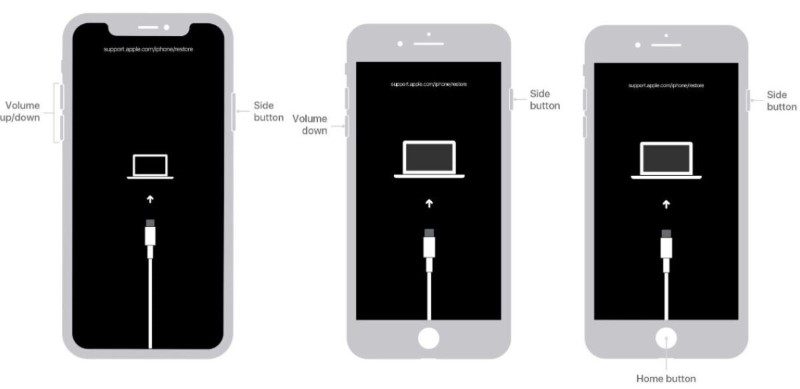
Step 1. Start by turning off your iPhone and then plug your iPhone into the computer through a USB cable or lightning cable. After that, open iTunes on your computer and put your iPhone in recovery mode.
|
iPhone Models |
Recovery Mode |
|
iPhone 8, 8 Plus, X, and Latest Models |
Press and Release Both Volume Button One by One and Hold Power Button |
|
iPhone 7 and 7 Plus |
Hold Power and Volume Down Button |
|
iPhone 6s Plus, 6s, 6, and Older Models |
Hold Power and Home Button |
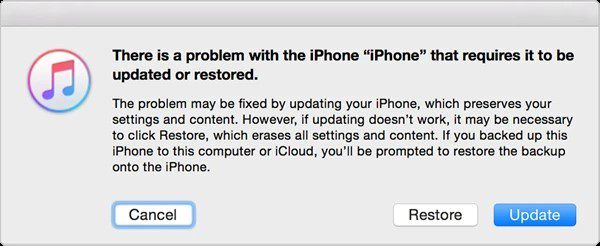
Step 2: At this point, a message will be displayed on the screen telling you that your iPhone has a problem and it needs to be restored or updated, select the ‘Restore’ option. Now, the restore and reset process will start, and it will take around 20 minutes so make sure that the iPhone stays connected to the computer.
Fix 3: Dr.Fone – Screen Unlock: The Ultimate Key to iOS Screen Unlocking
Dr.Fone is software that easily removes iPhone screen locks. It can remove face identification and also touch identification. Dr.Fone – Screen Unlock is the best solution for any issue related to iPhone.
Dr.Fone can bypass the iCloud activation lock and Apple ID. An advantage for Dr.Fone is that it requires no technical knowledge. Anyone can use Dr.Fone – Screen Unlock by just following the instruction provided by the software. The steps of how to fix a disabled iPhone with Dr.Fone – Screen Unlock are as follows:
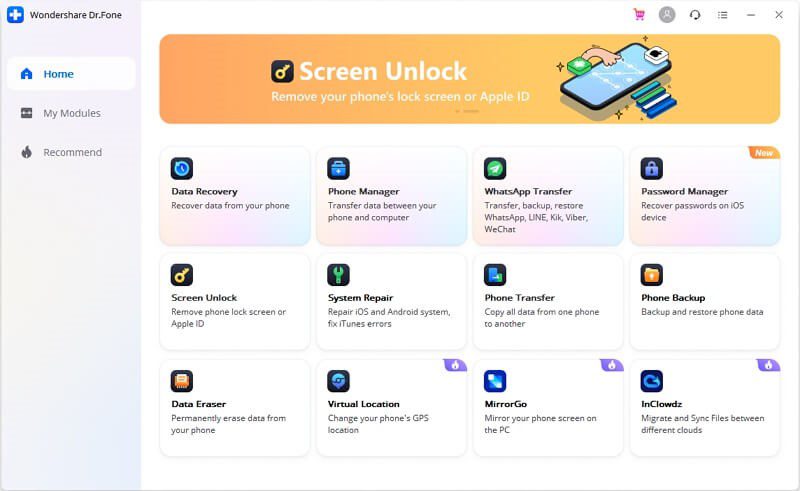
Step 1: Connect and Launch
Firstly, you need to launch Dr.Fone and select ‘Screen Unlock’ among the other available options on the screen. Next is to connect your iPhone to the computer or laptop by a USB or a lightning cable. Let it recognize your device, and then hit the ‘Unlock iOS Screen’ tool.
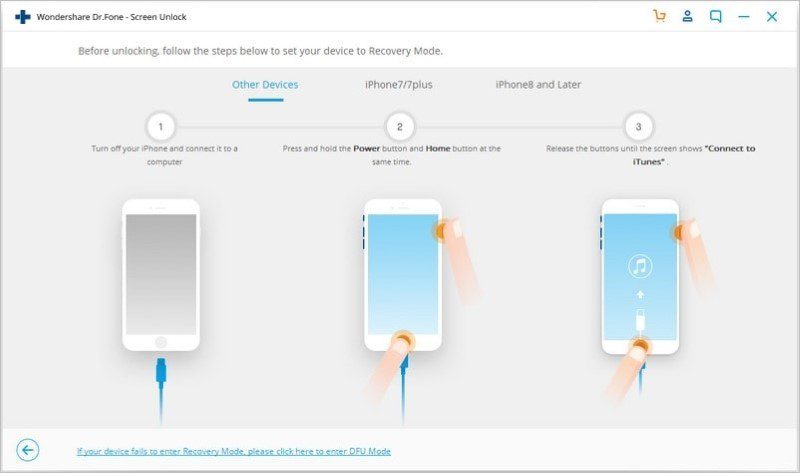
Step 2: Activate DFU Mode
Dr.Fone – Screen Unlock will show an interface after the iPhone is connected, activate recovery mode from it. The Recovery mode is recommended by default for iOS screen unlock. You can activate the DFU mode by following the on-screen instructions.
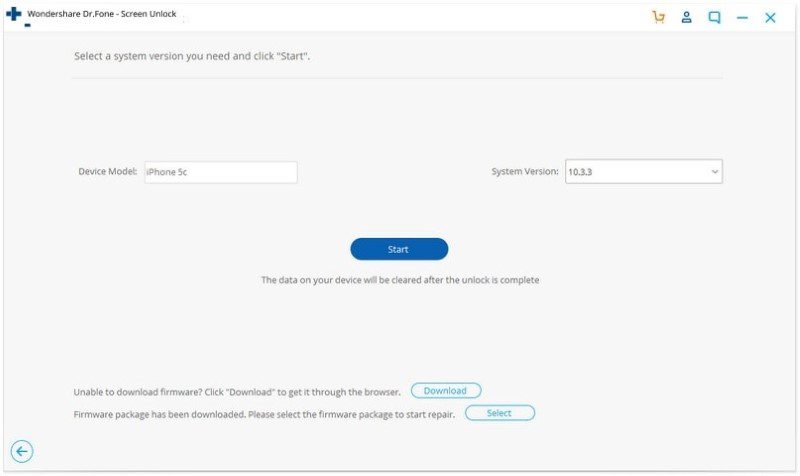
Step 3: Information Confirmation
Once your device is in DFU mode, Dr.Fone – Screen Unlock will show information such as device model, system version, and other information. If the displayed information is incorrect, select the correct information and then hit ‘Start’ so that the firmware can be downloaded.
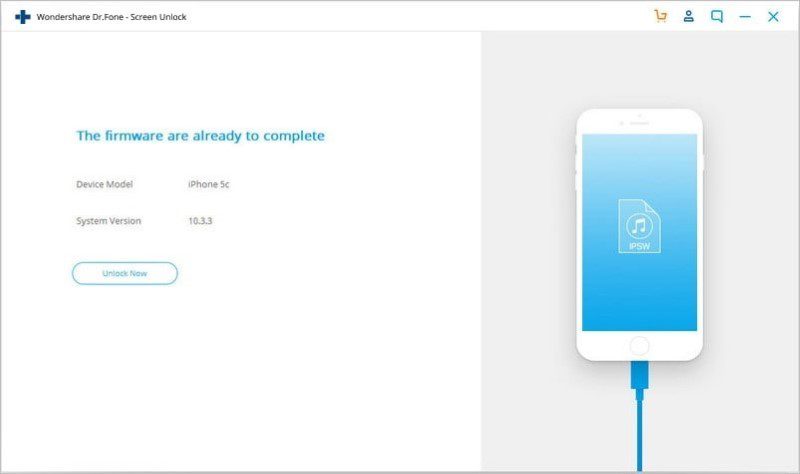
Step 4: iPhone Screen Unlock
After the firmware has been downloaded, click ‘Unlock Now.’ It will start to unlock your iPhone. After a few seconds, your phone will be unlocked and ready to use. Remember that all the data will be lost in this process of unlocking the disabled iPhone.
Closing Words
If you are an iPhone user and your iPhone gets disabled, what comes to mind is how to unlock the disabled iPhone? This article answered all your questions. We talked about how to fix disabled iPhones with both iCloud and also Recovery Mode. Furthermore, we also shared steps to fix disabled iPhones with Dr.Fone – Screen Unlock.